



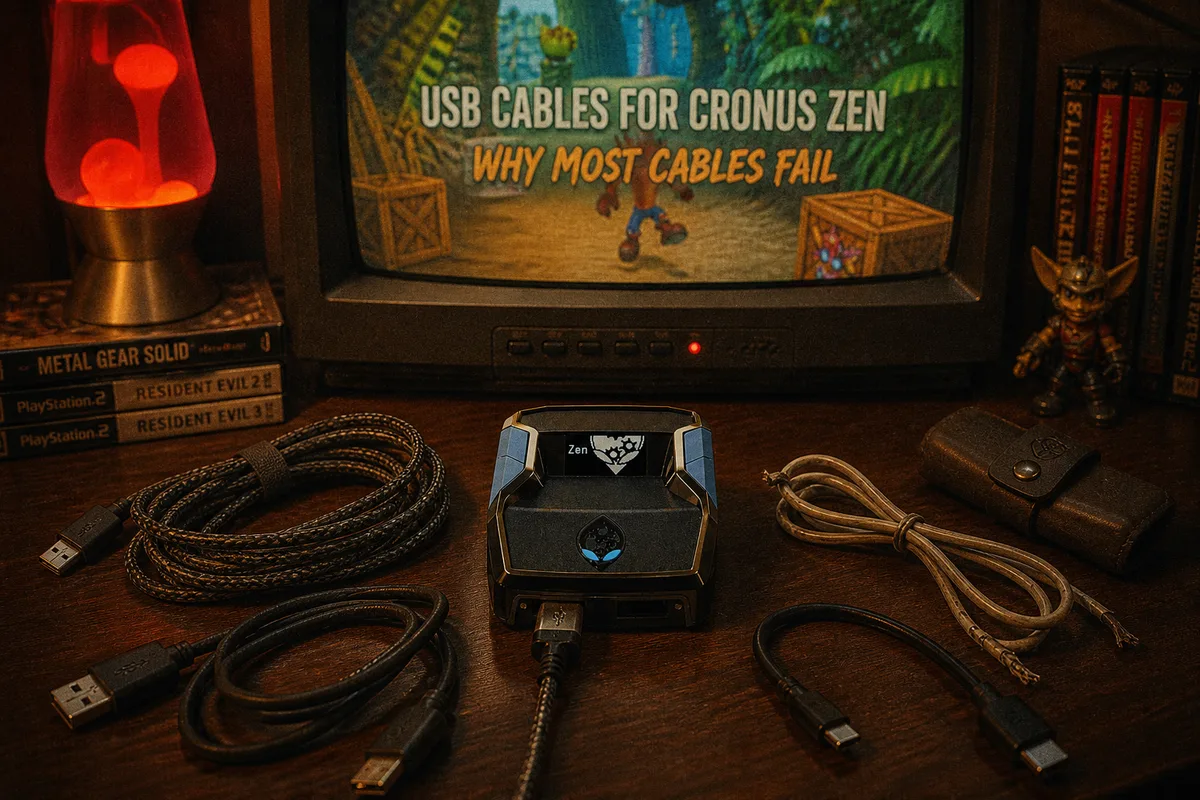
If I could change one thing about every Cronus Zen unboxing, it would be a giant sticker that says "your problem is probably the cable." Across every category of support ticket — not detected, script not working, random disconnects, failed firmware updates — the most common root cause is the same: a charge-only USB cable that looks exactly like a data cable and carries exactly zero data.
This post is everything I know about cables and the Zen: how to test what you own, what to buy, and which port needs what.
Why Charge-Only Cables Exist (and Why They Fool Everyone)
A USB cable has power wires and data wires. Manufacturers save a few cents by omitting the data pair on cables bundled with lamps, fans, power banks, and cheap electronics. The cable charges devices perfectly, so it feels "good." Then you plug your Zen in with it and the OLED lights up — power works! — but Zen Studio sees nothing, or the console never authenticates. Nothing about the cable's appearance tells you which kind you have.
This is why the first step in my not-detected checklist is always the cable swap, before drivers, before firmware, before anything clever.

The 30-Second Cable Test
You don't need a cable tester. You need a phone:
- Plug the suspect cable into your phone and your PC.
- If the phone shows a charging icon and pops up as a device on the PC (file transfer prompt, notification, anything) — it's a data cable. Keep it.
- If the phone charges but the PC never reacts — charge-only. Mark it or bin it.
Do this once for every cable you plan to use with the Zen, and label the good ones. Ten minutes of testing saves hours of fake troubleshooting later.
What Each Zen Port Actually Needs
- OUTPUT (top) — micro-USB on the Zen side, goes to your console or PC. Needs a data cable, full stop. This carries every input you make.
- PROG (side) — micro-USB, used only for Zen Studio (script loading, firmware). Needs a data cable. Unplug it during gameplay.
- A1 — full-size USB-A port for your controller. The controller's cable must also be a data cable — a DualSense on a charge-only lead will charge happily and authenticate nothing.
- A2/A3 — extra peripherals (keyboard, mouse, dongles). Same rule.
Note the chain: console ↔ OUTPUT cable ↔ Zen ↔ controller cable ↔ controller. There are two cables in the path that both must carry data. People replace one and forget the other constantly.
 Connection reference — which cable goes where
Cronus Zen basics — ports & concepts
Connection reference — which cable goes where
Cronus Zen basics — ports & concepts
What to Buy
You don't need anything exotic. My buying rules:
- Data-rated, from a real brand. Anker, UGREEN, Belkin, Amazon Basics — any cable explicitly sold for data/sync. Avoid unbranded multipacks.
- Short. 3–6 ft. Longer runs invite voltage drop and signal issues, especially on cheap cables. If your setup genuinely needs distance, buy one quality long cable rather than daisy-chaining.
- Braided over rubber. The Zen's micro-USB ports live a hard life; braided cables strain-relieve better and the port is what fails when cables get yanked.
- Buy a spare set. Two known-good micro-USB cables plus your controller cable. When something breaks at 11pm before a session, you swap and move on.
Things That Are Not Cables but Act Like Bad Cables
- USB hubs and extenders — unpowered hubs especially cause detection flakiness and mid-game drops. Plug the Zen directly into the console or PC.
- Worn micro-USB ports — if a cable only works when held at an angle, the port or the plug is physically worn. Replace the cable first; treat the port gently.
- Loose seating — a cable that clicks in firmly on one device and sits loose on another is telling you the connector is out of spec.
If you fixed your cables and still get drops, the causes shift to authentication and power — covered in the disconnect guide.
Cronus Zen keeps disconnecting — every cause & fix
Cables and Firmware Updates: Don't Gamble
One place cable quality really matters: firmware updates. An update interrupted by a flaky cable can leave the Zen unresponsive — recoverable via the bootloader reset, but avoidable entirely. Before updating firmware, use your best cable, plug directly into a rear PC port, and don't touch anything for the 30 seconds it takes.
How to update Cronus Zen firmware safely
The Bottom Line
Spend fifteen dollars on decent cables and half the Cronus Zen troubleshooting content on the internet becomes irrelevant to you. Once your cable situation is solid, the rest of setup is genuinely easy — the full setup guide takes about 15 minutes end to end, and after that you're just picking a script.